Welcome to Your Next Baking Adventure!
Dear sweet friend, if you’re here, it’s likely you’re ready to embrace the delightful world of baking! Today, we’re diving into the magical realm of Peanut Butter Banana Muffins. These lovely little morsels are not just a treat; they are a celebration of simple ingredients coming together to create something truly special. Imagine the aroma of ripe bananas mingling with creamy peanut butter wafting through your kitchen—pure bliss, right? Let’s embark on this journey and discover not just the recipe, but the joy that comes with each step.
Why You’ll Love This Recipe
These Peanut Butter Banana Muffins are so much more than just a delicious snack; they are a lovely way to elevate your day! Here are five specific reasons why you’ll fall head over heels for this recipe:
- Wholesome Ingredients: Packed with natural goodness, these muffins are made with ripe bananas and creamy peanut butter, giving you a nutritious boost.
- Easy to Make: With simple steps and minimal prep time, even novice bakers can whip up a batch with ease.
- Versatile Delight: Enjoy them as a breakfast treat, an afternoon snack, or even a post-workout boost—these muffins fit any occasion!
- Sweet Satisfaction: The sweet and nutty flavor combination is sure to please both kids and adults alike, making them a family favorite.
- Freezable Fun: Double up your batch and freeze some for later! These muffins freeze beautifully, so you can always have a sweet treat on hand.
Gathering Your Ingredients
Let’s talk about the lovely ingredients that will transform your kitchen into a cozy bakery! Here’s what you’ll need to create these magical muffins:
- Bananas: Ensure you use ripe bananas with lots of brown spots for maximum sweetness and flavor. About two medium bananas will yield one cup of mashed goodness.
- Peanut Butter: Opt for a natural peanut butter that’s creamy or crunchy, but make sure it’s just peanuts and salt for the best flavor.
- Eggs: Two large eggs help bind everything together and provide moisture.
- Maple Syrup: A splash of maple syrup adds a lovely, subtle sweetness that complements the banana beautifully.
- Oat Flour: You can use store-bought oat flour or make your own by blending rolled oats in a blender until fine. This adds a lovely texture to the muffins.
- Baking Powder & Baking Soda: These leavening agents are crucial for achieving that delightful rise!
- Spices: A sprinkle of cinnamon and nutmeg brings warmth and depth to your muffins.
Crafting Your Muffins: Step-by-Step
Now that we have our ingredients ready, it’s time for the fun part—baking! Follow this step-by-step guide, and let’s make some muffin magic!
- Preheat the Oven: Begin by preheating your oven to 350°F (175°C) and lining a muffin tin with paper liners or greasing it lightly.
- Mix Wet Ingredients: In a large mixing bowl, combine the mashed bananas, peanut butter, maple syrup, eggs, and vanilla extract. Stir until everything is well blended and smooth.
- Combine Dry Ingredients: In another bowl, whisk together the oat flour, baking powder, baking soda, cinnamon, nutmeg, and salt.
- Add Dry to Wet: Gradually add the dry mixture to the wet mixture. Stir gently until just combined—be careful not to overmix!
- Fill the Muffin Cups: Spoon the batter into the prepared muffin tin, filling each cup about 3/4 full. You can sprinkle some chocolate chips on top if you’re feeling extra indulgent!
- Bake: Place in the oven and bake for 18-22 minutes, or until a toothpick inserted into the center comes out clean.
- Cool: Allow the muffins to cool in the pan for about 5 minutes before transferring them to a wire rack to cool completely.
Expert Tips for Muffin Mastery
To ensure your muffins turn out perfectly every time, here are some lovely tips from my own baking adventures:
- Check Your Bananas: The riper the bananas, the sweeter your muffins will be! Don’t hesitate to use those black-spotted beauties!
- Don’t Overmix: Mix just until combined to keep your muffins light and fluffy—overmixing can lead to dense muffins.
- Room Temperature Eggs: Using room temperature eggs helps them blend better into the batter, leading to a smoother texture.
- Try Variations: Feel free to play with add-ins like nuts, dried fruit, or even a swirl of Nutella for a delightful twist!
- Cool Completely: Allow muffins to cool completely before storing to maintain their freshness and prevent sogginess.
- Storage: Store in an airtight container at room temperature for up to three days, or freeze for up to three months.
- Perfect Portioning: Use an ice cream scoop for evenly sized muffins—this ensures they bake uniformly!
- Get Creative with Toppings: A sprinkle of oats or a drizzle of peanut butter on top before baking adds a delicious touch!
Common Baking Mistakes & Troubleshooting
Even the most experienced bakers can encounter hiccups! Here are some common mistakes and how to avoid them:
- Muffins are too dense: This often comes from overmixing the batter. Remember, gentle mixing is key!
- Muffins overflow: Make sure you’re only filling each muffin cup 3/4 full to allow room for rising.
- Dry muffins: If your muffins turn out dry, it may be due to overbaking. Keep an eye on them in the last few minutes!
- Uneven baking: Rotate your muffin tin halfway through baking to ensure even heat distribution.
Delicious Variations to Try
The beauty of baking is that you can always switch things up! Here are some lovely variations to inspire your muffin journey:
- Chocolate Chip Banana Muffins: Add a handful of chocolate chips to the batter for a delightful treat!
- Nutty Banana Muffins: Stir in chopped walnuts or pecans for an extra crunch and nutty flavor.
- Banana Oatmeal Muffins: Mix in rolled oats for added texture and heartiness—perfect for a wholesome breakfast!
- Vegan Option: Substitute the eggs with flaxseed meal mixed with water for a vegan-friendly version of these muffins.
Storing and Make-Ahead Tips
These lovely muffins can be enjoyed fresh or saved for later! Here’s how to store them:
- Room Temperature: Store in an airtight container at room temperature for up to three days.
- Refrigerator: For longer storage, you can keep them in the fridge for up to a week, but they may dry out slightly.
- Freezing: To freeze, wrap each muffin in plastic wrap and place them in a freezer bag. They’ll stay fresh for up to three months! Simply thaw at room temperature before enjoying.
Frequently Asked Questions
If you have questions about this recipe, you’re not alone! Here are some common inquiries:
- Can I use almond butter instead of peanut butter? Absolutely! Almond butter will work beautifully in this recipe.
- What can I use instead of oat flour? All-purpose flour can be used, but keep in mind that the texture may differ slightly.
- Can I omit the sugar? If you prefer, you can reduce the sugar or use a sugar substitute, but the muffins may be less sweet.
- How do I know when the muffins are done? Insert a toothpick into the center—if it comes out clean, they’re ready!
- Can I add other fruits? Yes! Blueberries, chopped apples, or even shredded carrots can add a lovely twist to your muffins.
- What’s the best way to reheat frozen muffins? Simply pop them in the microwave for a few seconds or let them thaw at room temperature.
- Are these muffins gluten-free? If you use certified gluten-free oat flour, these muffins can be gluten-free!
- Can I make mini muffins with this recipe? Yes! Just adjust the baking time to about 10-15 minutes for mini muffins.
Nutritional Insights & Dietary Adaptations
These muffins are not only delicious but can also fit into various dietary preferences! Here’s a closer look at their nutritional profile:
- Low in refined sugars: By using ripe bananas and maple syrup, you’re keeping the sugars natural and wholesome.
- Good source of fiber: The oats and bananas contribute to a lovely fiber boost, making these muffins a filling option.
- Protein-rich: The peanut butter and eggs provide a decent amount of protein, perfect for a satisfying snack.
Essential Equipment for Muffin Baking
To create your lovely muffins, you’ll need a few basic baking tools:
- Muffin tin: A standard 12-cup muffin tin works perfectly for this recipe.
- Mixing bowls: A couple of mixing bowls will help you combine your wet and dry ingredients with ease.
- Whisk: A good whisk is essential for blending your dry ingredients and ensuring an even batter.
- Measuring cups and spoons: Accurate measurements are key to achieving the perfect muffin!
- Icing spatula: Useful for transferring batter and cleaning up your mixing bowl.
Serving Suggestions
These muffins can be enjoyed in a myriad of ways! Here are some lovely serving suggestions:
- Warm with Butter: Serve fresh muffins warm with a pat of butter for a comforting treat.
- With a Side of Yogurt: Pair with a dollop of Greek yogurt for a balanced breakfast or snack.
- As a Dessert: Enjoy them with a drizzle of chocolate sauce or a sprinkle of powdered sugar for a sweet finish!
In Conclusion: A Joyful Baking Experience Awaits!
As we wrap up this delightful journey of creating Peanut Butter Banana Muffins, I hope you feel inspired to step into your kitchen and bake with love! Remember, baking is not just about the end result; it’s about the joy you feel while creating something special. So gather your ingredients, put on your favorite apron, and let the magic happen! I can’t wait to hear how your muffins turn out. Thank you for joining me in this sweet adventure—happy baking, lovely friend!
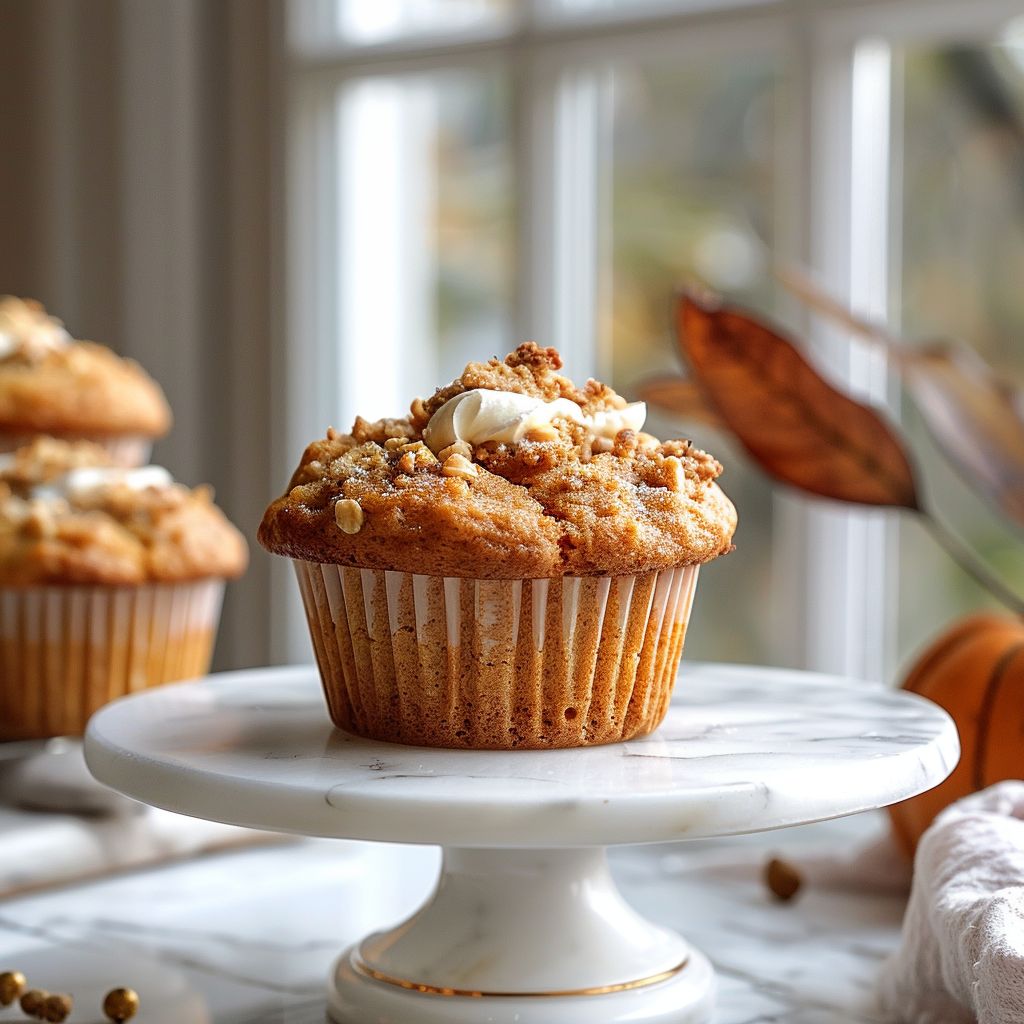

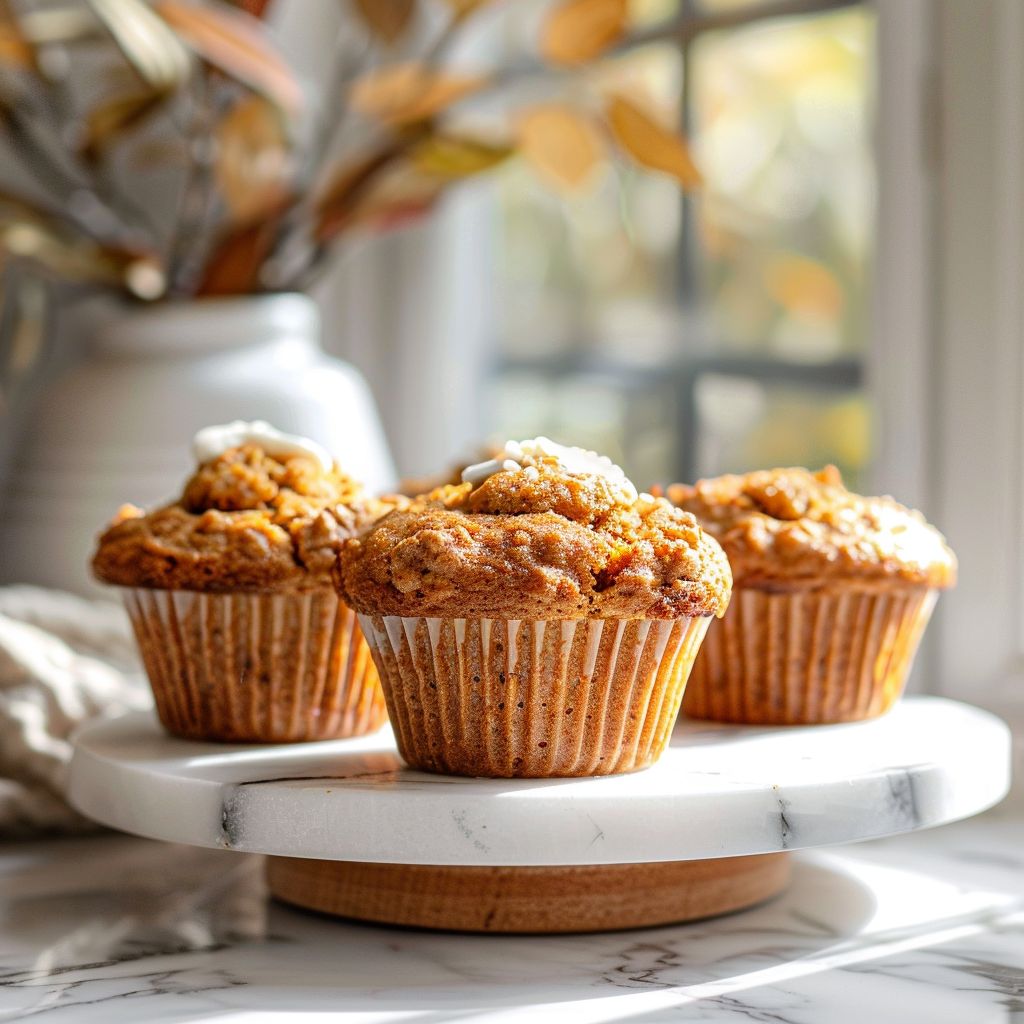
Easy Pumpkin Banana Bread Muffins With Cream Cheese
Ingredients
Method
- Preheat oven to 350°F (175°C) and line a muffin tin.
- Mix wet ingredients until combined.
- Whisk dry ingredients together.
- Combine wet and dry, then fill muffin liners halfway.
- Mix cream cheese filling and add on top, then top with remaining batter.
- Bake for 18-22 minutes, cool before serving.
Notes
Loved this recipe? Save it to your favorite Pinterest board so you can easily find it later! ✨