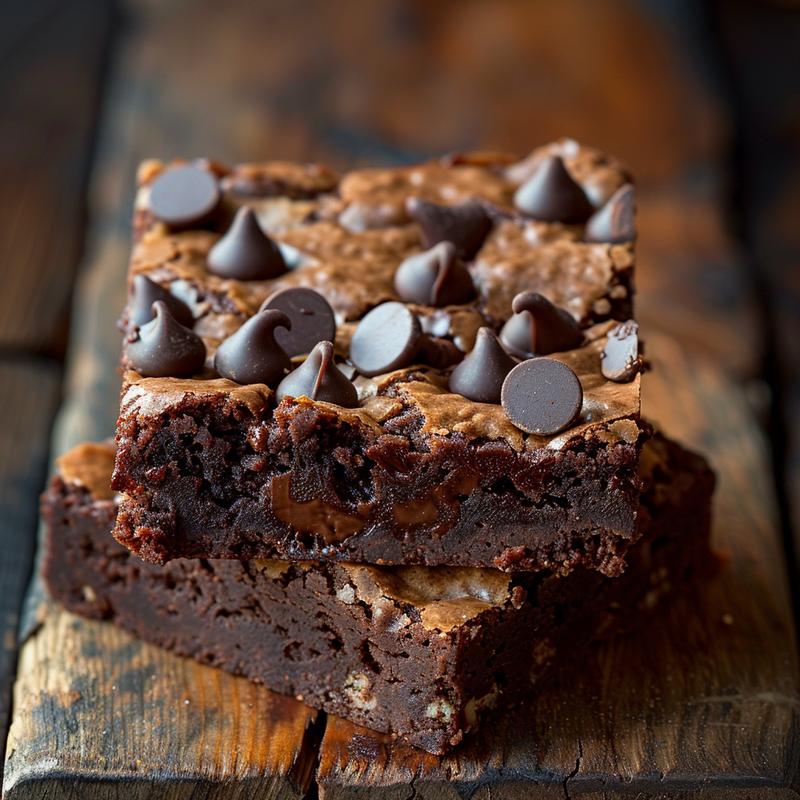
Oh, darlings, gather ’round! Grandma Rose has a treat for you that’s just as comforting as a warm hug on a chilly day, but without all the guilt. These healthy brownies with chocolate chips are so good, you won’t believe they’re good for you. Imagine sinking your teeth into a fudgy, chocolatey square, knowing you’re treating yourself right. That’s what this recipe is all about. So, let’s preheat that oven and bake some memories together! This is truly the best brownie recipe.
Why You’ll Love These Healthy Brownies
Now, you might be thinking, “Healthy brownies? Can they really be delicious?” And to that, I say, “Absolutely!” These aren’t your average, run-of-the-mill brownies. These brownies are a symphony of flavor and goodness. Here’s why you’ll fall head over heels:
- Fudgy and Delicious: They have that classic, intensely chocolatey flavor and satisfyingly fudgy texture that everyone craves.
- Naturally Sweetened: We’re using maple syrup instead of refined sugar. It gives a lovely depth of flavor and sweetness without the guilt.
- Moist and Tender: Applesauce is our secret weapon for keeping these brownies incredibly moist.
- Easy to Make: If you can whisk ingredients together, you can make these brownies. Trust me, it’s that simple.
- Wholesome Ingredients: We’re using whole wheat flour and cocoa powder for a healthier twist. You can even make these gluten free brownies with a simple swap!
These healthy brownies are truly a sweet treat that will satisfy your cravings without derailing your healthy lifestyle. They are perfect as healthy protein desserts. You’ll love how easy this gf desserts easy recipe is.
Ingredients: The Heart of Our Brownies
Here’s what you’ll need to create these little squares of happiness. Don’t worry; it’s all simple, wholesome goodness. And remember, darling, the quality of your ingredients will shine through in the final product. Let’s gather the troops:
- 1 cup whole wheat flour (or oat flour for a gluten-free-ish vibe): This gives our brownies a lovely texture and a bit of extra fiber. If you want to make them gluten-free, oat flour is your best friend.
- 1/2 cup unsweetened cocoa powder (the darker, the better for that intense chocolatey hug): The darker the cocoa, the richer the chocolate flavor. Don’t skimp on this one!
- 1 teaspoon baking soda (our little leavening buddy): This helps the brownies rise and gives them a light, airy texture.
- 1/4 teaspoon salt (to make all those chocolate flavors pop!): Salt is the unsung hero of baking. It enhances all the other flavors and keeps things from being too sweet.
- 3/4 cup maple syrup (the liquid gold that keeps things moist and happy): Look for pure maple syrup, not the imitation stuff. It makes all the difference.
- 1/2 cup unsweetened applesauce (our secret weapon for moisture and fewer calories!): This keeps the brownies moist and helps us cut back on the oil.
- 1/4 cup melted coconut oil (or any neutral oil you fancy): Coconut oil adds a subtle sweetness, but any neutral oil will work just fine.
- 2 teaspoons vanilla extract (because, duh, vanilla): Vanilla is the backbone of almost every baked good. It adds warmth and depth of flavor.
- 1/2 cup dark chocolate chips (the more, the merrier, IMO): I always recommend dark chocolate chips for their rich flavor and antioxidants. Feel free to use milk chocolate if that’s what you prefer.
- Optional: A sprinkle of flaky sea salt on top for that fancy-pants touch.: This adds a lovely contrast of salty and sweet. It’s not essential, but it elevates the brownies to the next level.
If you don’t have all the ingredients, don’t fret! You can always experiment. Maybe try using dates recipes or date recipes desserts for a different kind of sweetness. These brownies are versatile!
Step-by-Step: Baking Our Way to Brownie Bliss
Alright, my sweets, let’s get baking! Follow these simple steps, and you’ll be enjoying warm, fudgy brownies in no time. Remember, the secret is patience and a whole lotta love. These brownies are naturally sweetened.
- Preheat and Prep: Preheat your oven to a cozy 350°F (175°C). Grease and flour an 8×8 inch baking pan. No one likes brownies stuck to the pan, darling.
- Dry Ingredients Unite: In a medium bowl, whisk together the whole wheat flour, cocoa powder, baking soda, and salt. Think of it as building the foundation for brownie greatness.
- Wet Ingredients Mingle: In a separate, larger bowl, whisk together the maple syrup, applesauce, melted coconut oil, and vanilla extract. Get it all nice and combined.
- The Great Mixing: Pour the dry ingredients into the wet ingredients. Stir until just combined. **Seriously, don’t overmix!** Overmixing is the enemy of tender brownies.
- Chocolate Chip Shower: Gently fold in those glorious chocolate chips. Save a few for sprinkling on top if you’re feeling fancy.
- Into the Pan: Spread the batter evenly into your prepared pan. Make it look all neat and tidy.
- Baking Time: Bake for 20-25 minutes, or until a toothpick inserted into the center comes out with moist crumbs attached (not wet batter!).
- Cooling is Key: Let them cool completely before cutting. This is the hardest part, I know. But trust me, it’s worth the wait.
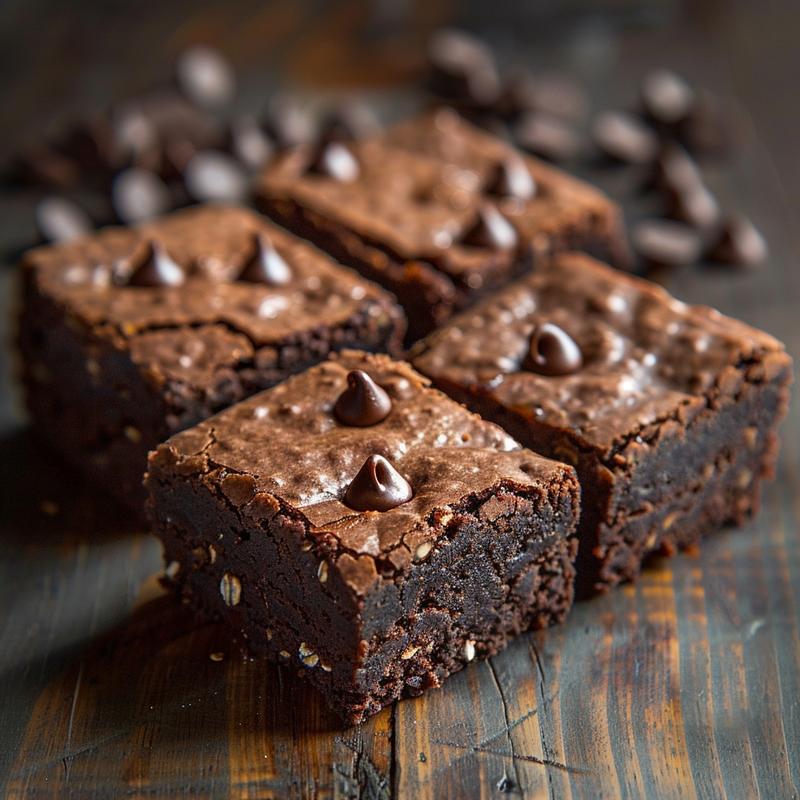
And there you have it! A batch of beautiful, healthy brownies, ready to be devoured. Remember, the brownies are best when shared with loved ones.
Pro Tips for Brownie Perfection
Now, darlings, I’ve been baking for a long time, and I’ve picked up a few tricks along the way. Here are some of my best pro tips for ensuring your brownies are absolutely perfect:
- Don’t Overmix: I can’t stress this enough! Overmixing develops the gluten in the flour, resulting in tough brownies. Mix until just combined.
- Use Quality Ingredients: The better the ingredients, the better the brownies. Splurge on good quality cocoa powder and chocolate chips.
- Don’t Overbake: Overbaked brownies are dry and crumbly. Check them frequently towards the end of the baking time.
- Cool Completely: This is crucial for getting clean, fudgy slices. Be patient!
- Line the Pan with Parchment Paper: This makes it easy to lift the brownies out of the pan and prevents sticking.
If you want to take these brownies to the next level, consider adding a silky chocolate ganache. It’s easier than you think!
Common Mistakes and How to Avoid Them
We all make mistakes, especially when we’re learning. But don’t worry, my dears, I’m here to help you avoid some of the most common brownie blunders:
- Dry Brownies: This is usually caused by overbaking or using too much flour. Be sure to measure your flour accurately and don’t overbake.
- Gummy Brownies: This can be caused by undermixing or using too much liquid. Make sure to mix the batter thoroughly, but not excessively.
- Brownies That Stick to the Pan: Always grease and flour your pan thoroughly or line it with parchment paper.
- Brownies That Are Too Cakey: This can be caused by using too much baking soda or baking powder. Make sure to measure accurately.
The secret is patience, darling. Baking is a science, but it’s also an art. With a little practice, you’ll be a brownie pro in no time.
Variations: Let Your Creativity Shine
Now, once you’ve mastered the basic recipe, feel free to get creative! Here are a few variations to inspire you:
- Peanut Butter Brownies: Swirl peanut butter into the batter before baking.
- Mint Chocolate Chip Brownies: Add mint extract and mint chocolate chips to the batter.
- Salted Caramel Brownies: Drizzle caramel sauce over the baked brownies and sprinkle with sea salt.
- Espresso Brownies: Add a teaspoon of instant espresso powder to the dry ingredients for a coffee kick.
- Black Bean Brownies: For an extra boost of protein and fiber, try adding black beans! It sounds crazy, but they add a wonderful fudgy texture.
The possibilities are endless! Don’t be afraid to experiment and create your own signature brownie flavor.
Storage: Keeping Your Brownies Fresh
If, by some miracle, you have leftover brownies, here’s how to store them properly:
- Room Temperature: Store in an airtight container at room temperature for up to 3 days.
- Refrigerator: Store in an airtight container in the refrigerator for up to a week.
- Freezer: Wrap individually in plastic wrap and store in a freezer bag for up to 2 months. Thaw at room temperature before serving.
These brownies are so good, they probably won’t last that long! But it’s always good to know how to keep them fresh.
FAQ: Your Brownie Questions Answered
Got questions? I’ve got answers! Here are some frequently asked questions about these healthy brownies:
- Can I use regular flour instead of whole wheat flour? Yes, you can. Just be aware that the texture may be slightly different.
- Can I use a different sweetener instead of maple syrup? You can try honey or agave, but the flavor will be different.
- Can I make these vegan? Yes, use flax eggs instead of applesauce.
- Can I add nuts to the batter? Absolutely! Walnuts or pecans would be delicious.
- How do I know when the brownies are done? Insert a toothpick into the center. If it comes out with moist crumbs attached, they’re done.
If you have any other questions, feel free to ask in the comments below! I’m always happy to help.
Serving Suggestions: Sharing the Love
These brownies are delicious on their own, but they’re even better with a little something extra. Here are some serving suggestions:
- With a scoop of vanilla ice cream: A classic pairing that never fails.
- With a drizzle of chocolate sauce: For the ultimate chocolate lover.
- With a sprinkle of powdered sugar: For a touch of elegance.
- With a cup of coffee or tea: The perfect afternoon treat.
But the best way to serve these brownies is with a smile and a warm heart. Baking is all about sharing the love, darlings. Enjoy!
These healthy baked goods are great for any occasion. These brownies are a healthy brownie recipe that you and your family will love. Remember, if you want the best results, be sure to follow the recipe closely. These brownies are best served fresh, but they are still delicious the next day.

Healthy Brownies With Chocolate Chips
Ingredients
Method
- Preheat oven to 350°F (175°C). Grease and flour an 8x8 inch pan.
- Whisk together flour, cocoa powder, baking soda, and salt in a medium bowl.
- In a larger bowl, whisk together maple syrup, applesauce, melted coconut oil, and vanilla extract.
- Pour dry ingredients into wet ingredients. Stir until just combined; don’t overmix!
- Gently fold in chocolate chips, saving some for topping.
- Spread batter evenly into the prepared pan.
- Bake for 20-25 minutes, until a toothpick comes out with moist crumbs.
- Let cool completely before cutting.
Notes
Loved this recipe? Save it to your favorite Pinterest board so you can easily find it later! ✨